
Beautiful hardwood flooring begins with thoughtful planning and careful preparation.
Professional hardwood floor installation Edmonton homes rely on follows a clear sequence, and every stage protects the one that comes after it.
The appearance and performance of the finished floor depend on much more than the boards themselves. Product selection, indoor conditions, moisture levels, subfloor quality, room layout and installation method all contribute to how the hardwood looks, feels and performs over time.
Understanding the professional installation process helps Edmonton homeowners prepare for their project and appreciate the craftsmanship involved at each stage.
The process begins with a conversation about the home, the rooms receiving new flooring and the homeowner’s goals.
An experienced flooring professional will consider the preferred colour, wood species, plank width, finish and overall design direction. Household activity, pets, children, maintenance preferences and long-term plans can also help guide the selection.
The consultation provides an opportunity to compare solid hardwood and engineered hardwood. Both offer natural wood character, with different construction and installation possibilities.
Room location also plays an important role. Main floors, upper levels, basements and areas built over concrete may each call for a specific product or installation method.
Accurate measurements help determine the amount of flooring required and support a detailed project quote.
The flooring professional will review room dimensions, closets, hallways, stairs, adjoining spaces and transition areas. The assessment may also identify angled walls, irregular room shapes or architectural features that require additional planning.
Flooring quantities typically include material for cuts, board selection and natural variation. The amount required will reflect the product, installation pattern and complexity of the space.
The project plan can also account for furniture moving, existing flooring removal, baseboards, transitions, disposal and access to the work area.
Hardwood flooring is available in a wide range of species, grades, plank sizes, finishes and constructions.
The wood species influences colour, grain and surface hardness. Plank width shapes the visual scale of the room, while the grade determines the amount of natural variation visible across the boards.
Factory-finished hardwood arrives with the stain and protective surface already applied. Site-finished hardwood is installed in its natural state and then sanded, stained and finished inside the home.
Engineered hardwood uses a genuine wood surface supported by a layered core. This construction provides added dimensional stability and creates installation options for several types of subfloors.
The flooring manufacturer’s specifications help determine where each product can be installed and which preparation and installation methods support its long-term performance.

A clear and accessible work area supports an efficient start to the project.
Furniture, rugs, decorative items and personal belongings should be removed from the rooms receiving new flooring. Freedom’s Flooring can assist with large furniture when arrangements are made in advance.
Nearby cabinets, shelves and wall décor can also be cleared to protect belongings and provide the installation team with suitable space to work.
The homeowner and flooring team can review access, parking, material storage, pets and the daily schedule before the project begins. These details help the installation move smoothly from preparation through completion.
Wood responds naturally to the temperature and moisture conditions within its environment.
Acclimation, sometimes called conditioning, allows the flooring material to reach suitable conditions for the home before installation. The process is guided by the type of hardwood, its moisture content, the subfloor, the manufacturer’s instructions and the expected living conditions within the space.
Some hardwood products arrive ready for installation once the site conditions have been confirmed. Others benefit from additional conditioning within the home.
Moisture readings and product specifications provide a more reliable guide than relying on a standard number of days for every project.
The existing flooring may need to be removed before the new hardwood can be installed.
Removal provides access to the subfloor and reveals its current condition. Adhesive residue, staples, fasteners and loose materials can then be cleared so the surface can be assessed accurately.
This stage may uncover previous repairs, uneven sections, moisture concerns or movement within the flooring structure. Addressing these conditions creates a stronger foundation for the hardwood installation.
Disposal and cleanup can be included within the project scope so homeowners understand how the existing material will be handled.
The subfloor is the structural surface beneath the finished flooring.
In Edmonton homes, it may be made from plywood, oriented strand board or concrete. The type and condition of the subfloor help determine which hardwood product and installation method are most suitable.
A strong subfloor provides a clean, stable and suitably flat surface. The installer will examine it for movement, raised areas, low spots, damaged sections and signs of moisture.
Careful subfloor preparation contributes to a secure installation and a smooth finished appearance. It can also support quieter and more consistent performance underfoot.
Moisture testing helps the installer understand the conditions within the hardwood and the surface beneath it.
Wood flooring and wood subfloors are measured using tools designed to assess moisture content. Concrete surfaces require testing methods suited to concrete.
The results help determine whether the flooring, subfloor and home are ready for installation. They can also guide acclimation, product selection and moisture-control planning.
Edmonton’s dry heating season and humid summer periods can create very different indoor conditions. Establishing suitable conditions before installation helps the hardwood respond more consistently throughout the seasons.
Subfloor preparation is tailored to the conditions found during the assessment.
Raised areas may be carefully corrected, while low areas may require a suitable levelling or patching material. Loose panels can be secured, and damaged sections can be repaired or replaced.
Concrete surfaces may require cleaning, moisture preparation, levelling or an approved moisture-control system. Wood subfloors may require fastening, reinforcement or localized correction.
The hardwood manufacturer’s specifications guide the required surface tolerances and compatible preparation products.
This work creates a solid foundation for straight board alignment, secure fastening and a polished finished floor.
Hardwood flooring can be installed using nail-down, staple-down, glue-down or floating methods.
Nail-down and staple-down installations are commonly used over suitable wood subfloors. Fasteners secure the boards while allowing the natural surface of the hardwood to remain visible.
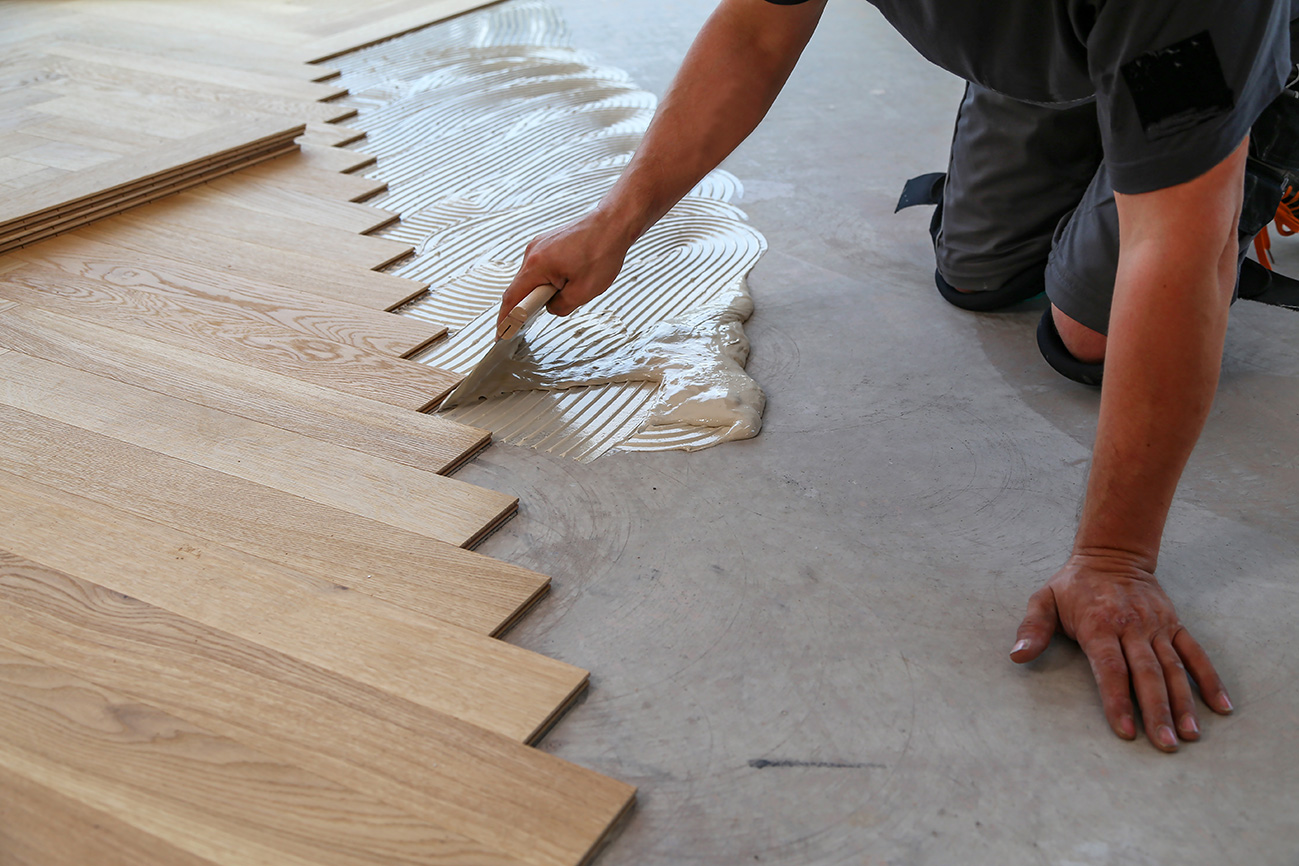
Glue-down installation uses an approved flooring adhesive to secure the hardwood to the prepared surface. This method is frequently used with selected engineered hardwood products and concrete substrates.
Floating floors connect to one another and rest over an approved underlayment. Selected engineered hardwood products are designed for this installation method.
The flooring product, subfloor, room location and manufacturer’s requirements determine the most suitable approach.
Professional layout planning shapes the appearance of the completed floor.
The installer considers the direction of the boards, room dimensions, sightlines, natural light and the flow between adjoining spaces. Board placement can also highlight attractive grain and colour variation throughout the room.
The first rows establish the alignment for the complete installation. Careful measurements help the flooring remain balanced along walls, cabinets, doorways and transitions.
Wood flooring also requires room for natural seasonal movement. Expansion space is planned according to the flooring product, room dimensions and manufacturer’s specifications. Baseboards or trim provide a finished appearance around the perimeter.
Transitions connect hardwood with adjoining flooring materials or surfaces at a different height.
The installer will identify transition locations during the planning stage and select profiles that complement the hardwood. Doorways, hallways, stairs and open-concept spaces may each require a different approach.
Floor height is also considered when existing flooring is removed or when the new material meets cabinetry, appliances and exterior doors.
Well-planned transitions support comfortable movement between spaces and help the completed project feel cohesive.
Factory-finished hardwood arrives with its colour and protective finish completed by the manufacturer.
Once the subfloor and layout are ready, the boards are installed according to the selected method. The installer blends boards from multiple packages to distribute natural colour and grain variation throughout the room.
Cuts around walls, vents, door frames and architectural features are completed with precision. Trim, transitions and baseboards are then installed or prepared for completion.
Homeowners can usually begin enjoying factory-finished flooring soon after the installation team completes the project, based on the adhesive and installation requirements.
Site-finished hardwood is installed first and finished within the home.
Once the boards are securely in place, the floor is sanded through several stages to create a smooth and consistent surface. Stain can then be applied to achieve the selected colour.
Sealer and protective finish complete the process. The finishing system, number of coats and room conditions influence curing time and the schedule for foot traffic, furniture and rugs.
Site finishing creates a continuous surface across the room and allows homeowners to personalize the stain colour and sheen.
Project timing depends on room size, floor plan, product, installation method and the amount of preparation required.
Many single-room installations can be completed within one day. Full-home or more complex installations commonly take two to four days, depending on the layout, materials and subfloor preparation.
Material conditioning, existing flooring removal, subfloor repairs, stairs and site-applied finishes can add stages to the schedule.
A project-specific timeline gives homeowners the clearest expectations because every home and installation is different.
Many homeowners remain in their homes during hardwood installation.
The flooring team can explain which rooms will be accessible, how movement through the home will be managed and when each completed area can support foot traffic.
Site-finished hardwood may require additional planning because sanding, staining and finishing take place inside the home. The products selected and their curing requirements will determine when people, pets, furniture and rugs can return.
Planning these details before the project begins helps the household remain comfortable and organized throughout the installation.
The installation team will complete finishing details, inspect the completed floor and review care instructions with the homeowner.
These instructions may cover cleaning products, furniture pads, entrance mats, indoor humidity and the timing for placing rugs or heavy furniture.
Hardwood will continue to respond naturally to seasonal conditions. Maintaining a comfortable indoor environment and following the product’s care recommendations help support its appearance and performance.
Homeowners should also keep the flooring product information and a small quantity of extra material when available. Matching boards may be useful for future localized repairs or renovation work.
Professional hardwood installation brings together accurate measurements, suitable product selection, moisture assessment, subfloor preparation, careful layout and detailed finishing work.
Each stage contributes to the appearance, stability and long-term performance of the floor. Taking the time to prepare the home and subfloor properly creates a stronger foundation for the finished result.
With more than 40 years of experience serving Edmonton and surrounding communities, Freedom’s Flooring provides hardwood product guidance, subfloor preparation, professional installation, repairs, sanding and refinishing.
Planning hardwood floor installation Edmonton homeowners can count on begins with an in-home consultation and an accurate measurement.
Contact Freedom’s Flooring to plan your hardwood installation project.

Let’s bring your vision to life. Get in touch for a free quote, explore flooring samples, or book your in-home consultation today.

LVP or laminate? A side-by-side comparison of moisture performance, durability, comfort underfoot, radiant-heat compatibility and 2026 Edmonton pricing.
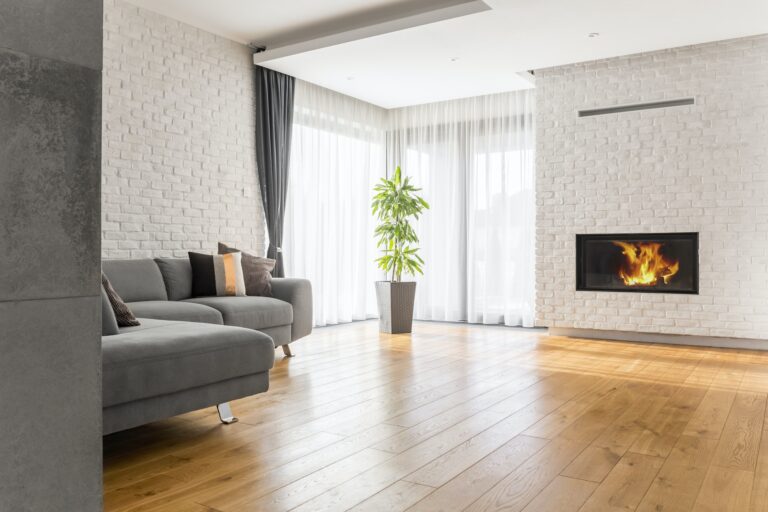
Snow, slush and dry heating season all test a floor. Compare luxury vinyl plank, engineered hardwood, laminate and solid hardwood for Edmonton winters.
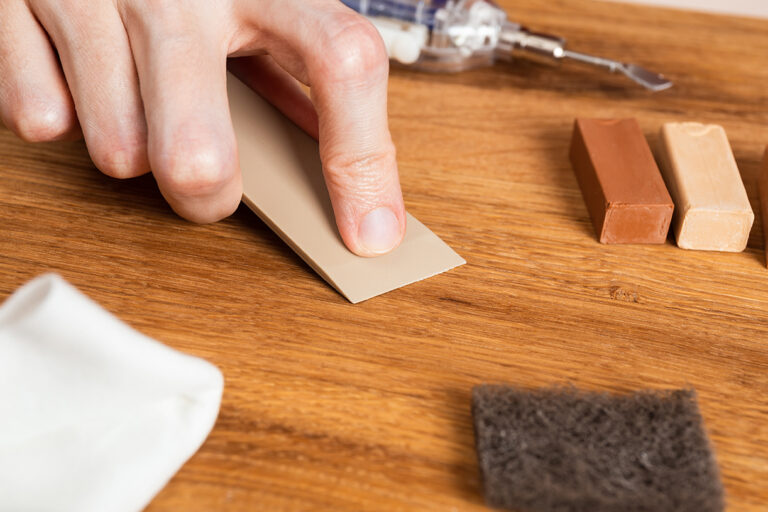
Which hardwood floor changes are normal seasonal movement and which ones need repair? A guide to gaps, squeaks, cupping, buckling and scratches in Edmonton…
Let’s bring your vision to life. Get in touch for a free quote, explore flooring samples, or book your in-home consultation today.
Proudly serving Edmonton homeowners and businesses, our experienced team helps you transform your space with expert flooring installation, personalized service, and transparent pricing—every step of the way.
© 2026 Freedom’s Flooring Ltd. • All Rights Reserved
Website Designed and Managed by Schif And The City